Give any photo its sharpness back
Remove the noise, recover fine detail and fix compression. You see the result before you decide anything.
Drop your photo here
or · up to 40 MB
Detail that was there but could not be seen
The model does not paint over the photo: it separates noise from real grain, rebuilds the textures and respects skin, hair and edges.
Drag the line. It is the same view you get in the editor.
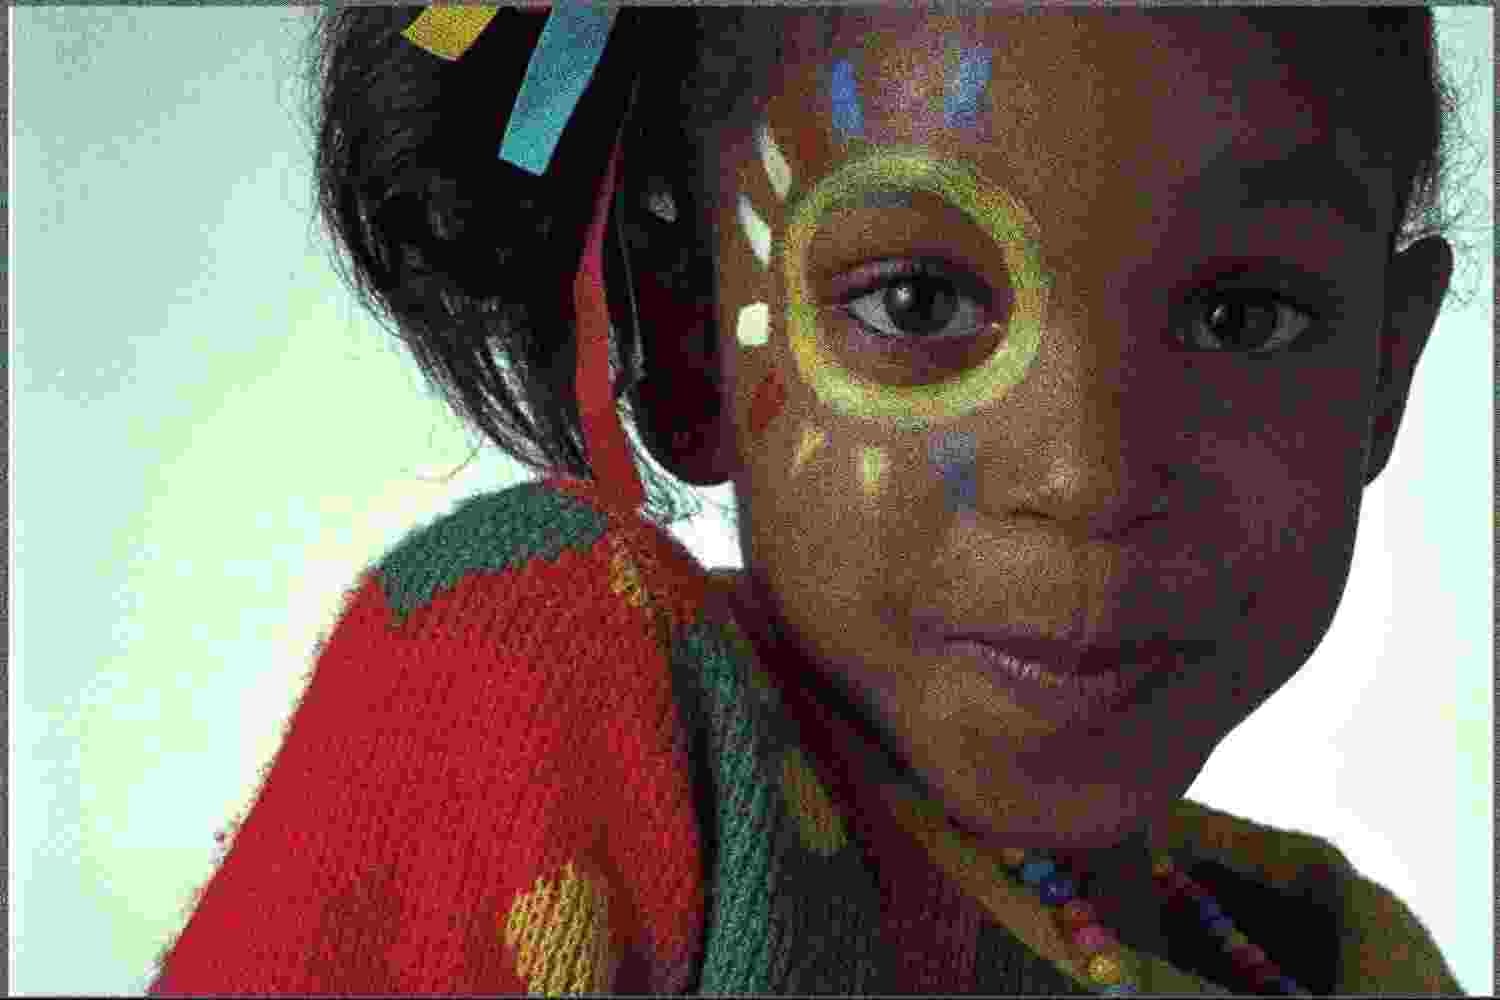
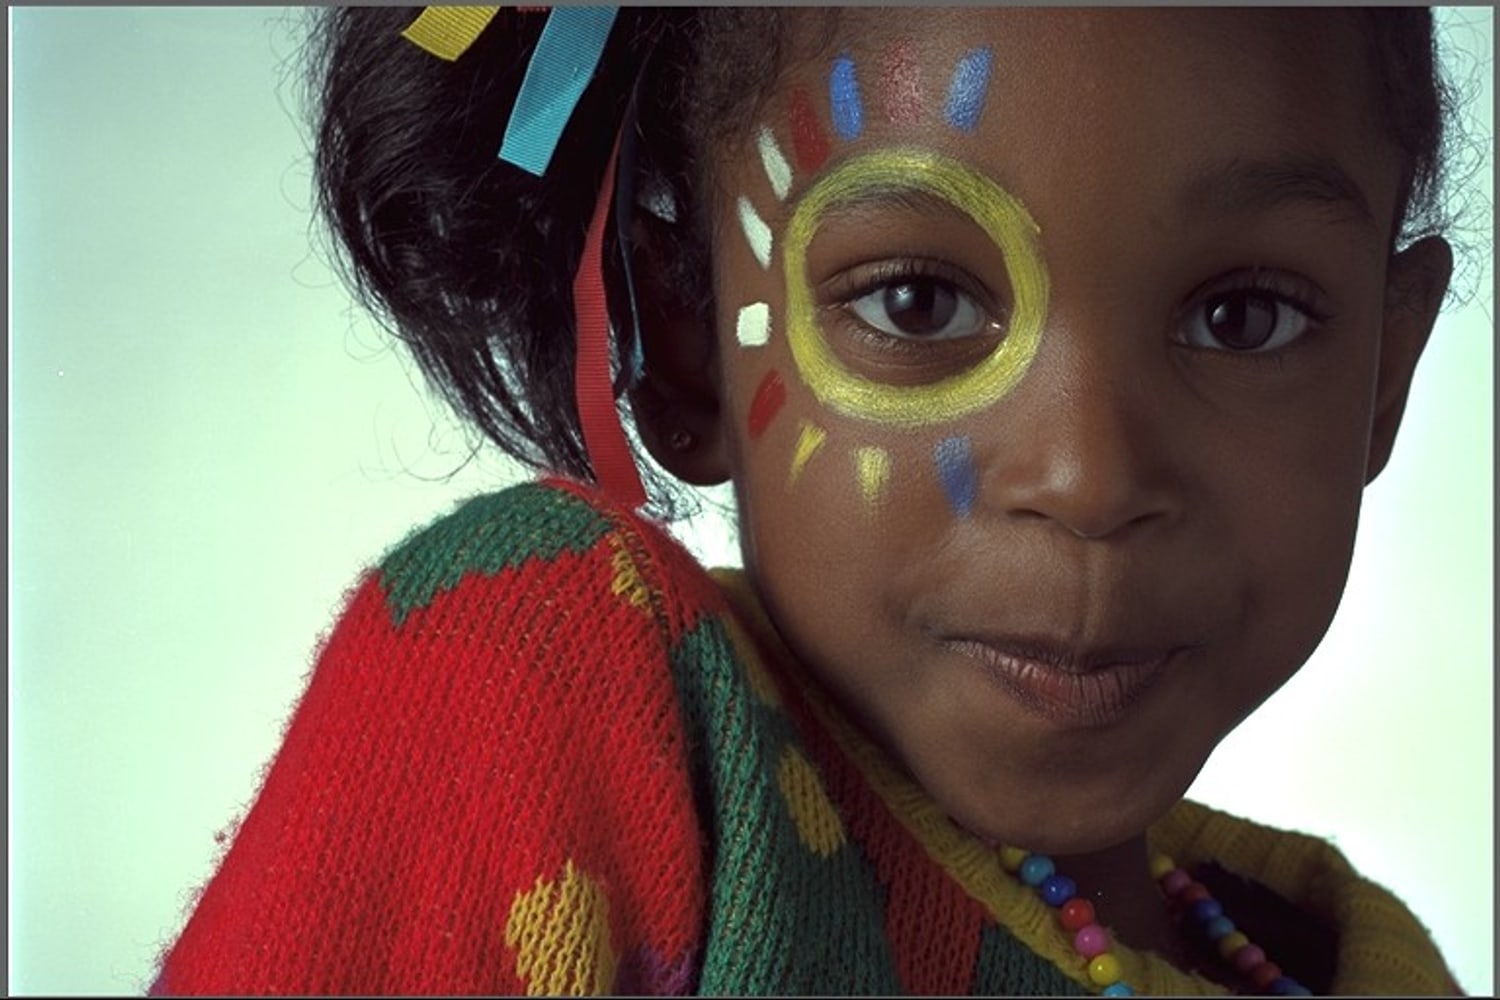 AfterBefore
Upload, compare, download
- 01Upload the photo
JPG, PNG, HEIC or WebP, up to 40 MB. Enhancement starts on its own with the settings recommended for that image.
- 02Compare and fine-tune
Drag the line to see the difference. Raise or lower noise, sharpening and compression, then apply again.
- 03Download at full size
As PNG, with no re-compression. The photo stays in your panel to convert or upscale later.
Three problems, one tool
AfterBeforeNight shots, indoor shots or high ISO. The grain goes and the fine detail stays.
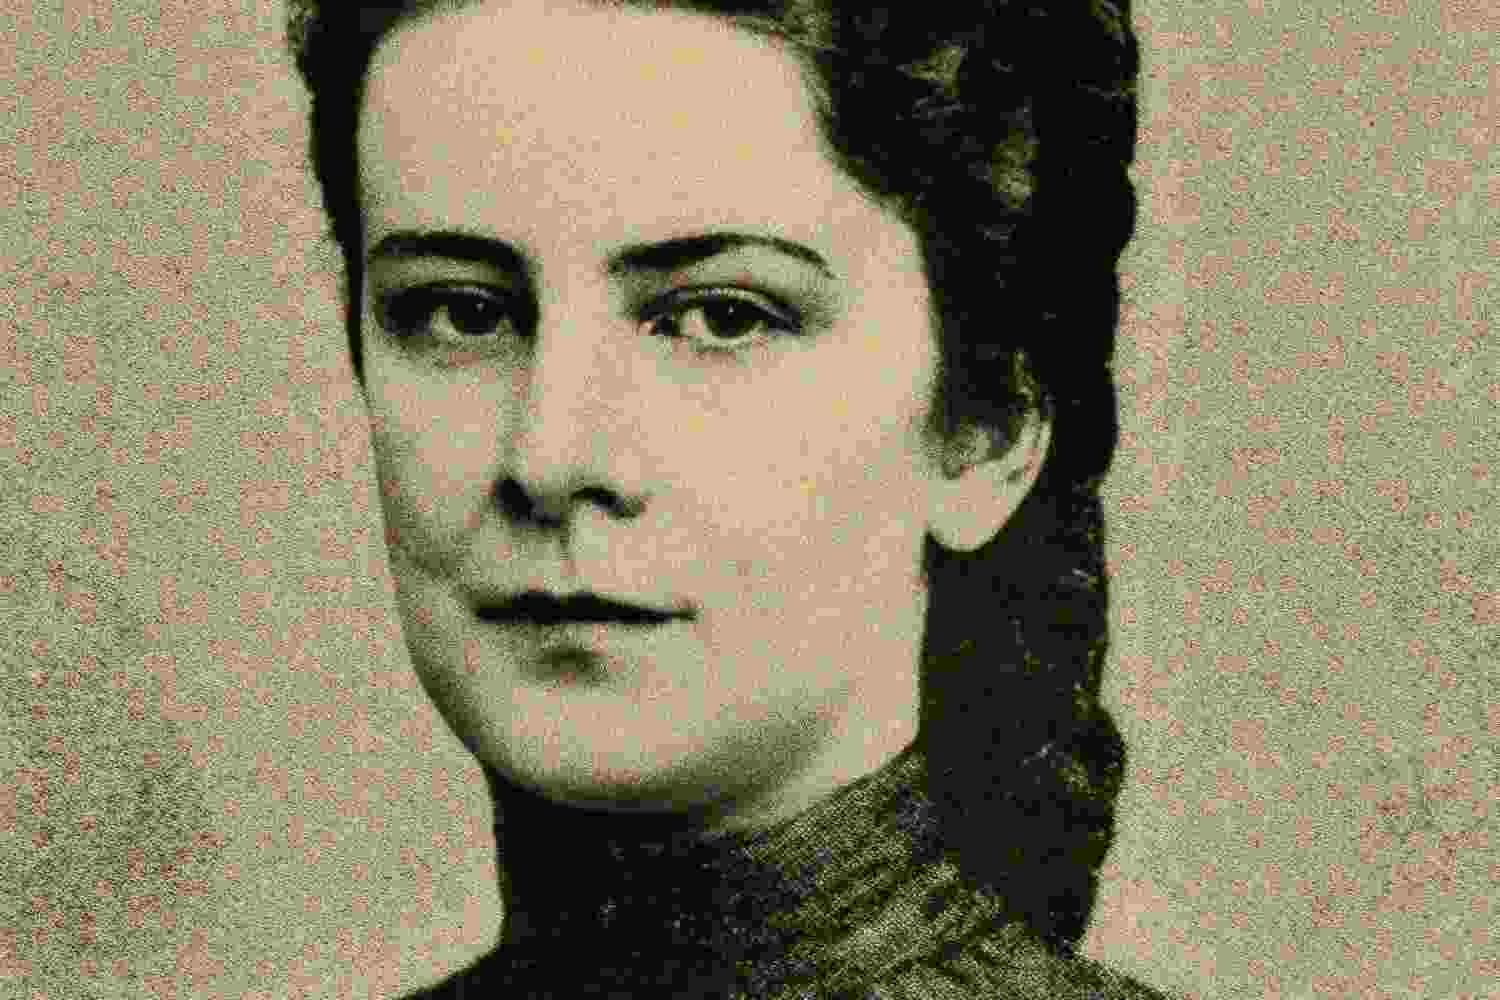
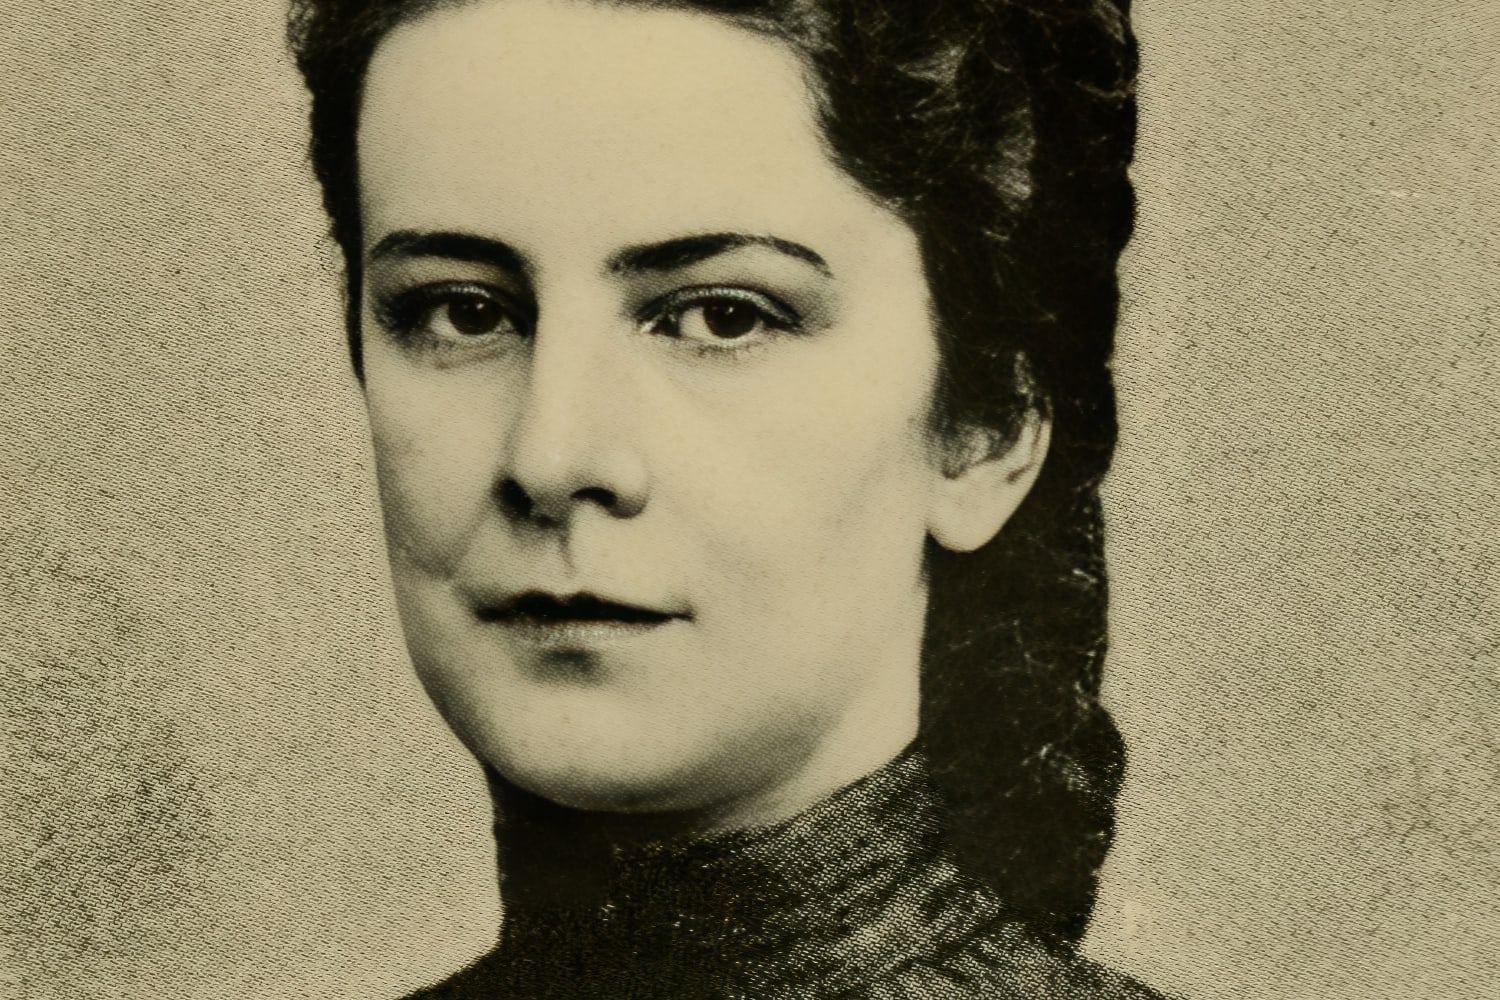 AfterBefore
Focus that did not quite land, or a photo resized once too often. Sharpness back, without halos.
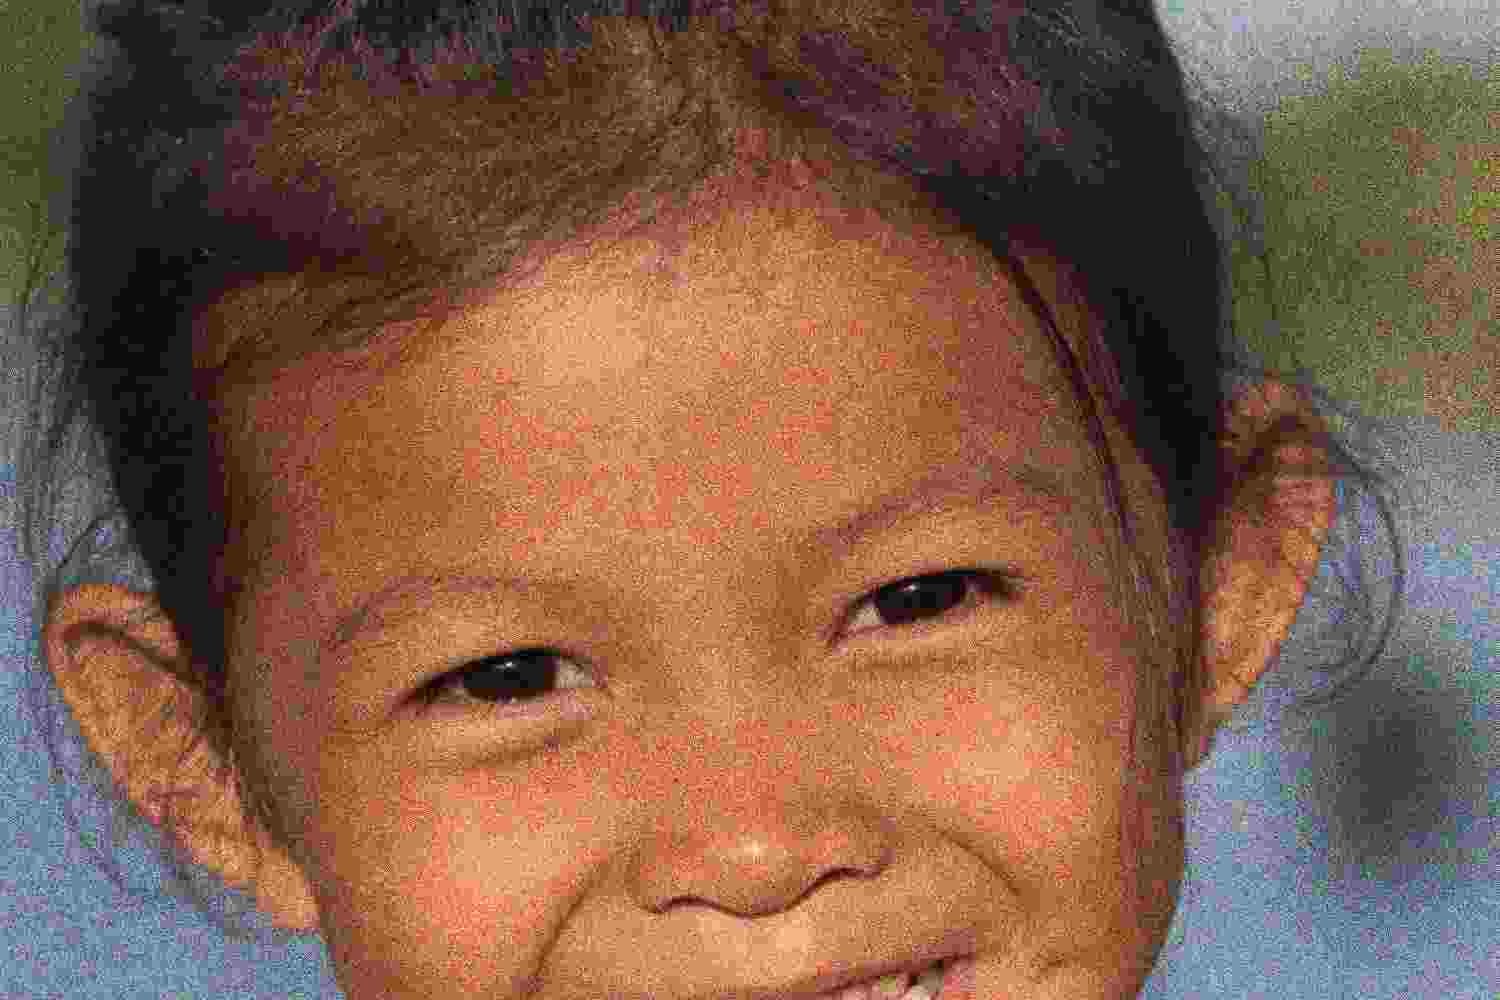
 AfterBefore
Messaging app images, screenshots and social downloads. Clears JPEG artefacts and cleans up edges.
From the family photo to the catalogue
Scans, photos from old phones and the ones that arrived already re-compressed by a messaging app.
Cleaner product shots for the listing, the marketplace and the printed catalogue.
Dark interiors and noisy façades, ready for the portal and the brochure.
Images that are going to run large on a screen or in print, without the blocking showing.
One for each kind of photo
“Standard” works almost always. The others exist for the times it does not: switch in the editor and compare.
Around 20 seconds per photo, at full size. Up to 50 megapixels per image.
Your photos never train any model, and the preview is deleted the next day.
Same resolution in and out. If you want more pixels, upscale it afterwards.
If your problem is a different one
Multiply the resolution 2× or 4× without the pixels showing. For printing or for big screens.
Upscale an image Sharpen imageFor photos that are genuinely out of focus, not just soft. The model rebuilds the focus.
Sharpen an imageCuts out the subject and leaves the background transparent, with hair and fine edges properly resolved.
What people ask before uploading a photo
As little as possible. It cleans and rebuilds at the same resolution, it does not add pixels. With “High fidelity” it touches even less. The one that does rebuild is “Upscale image”, which is a different tool.
Try it with whatever photo you have to hand
In 20 seconds you see it enhanced, in your browser and with nothing to install.